

In this article we look at yoga poses to reduce stress, improve flexibility and increase energy
Top Poses to Reduce Stress
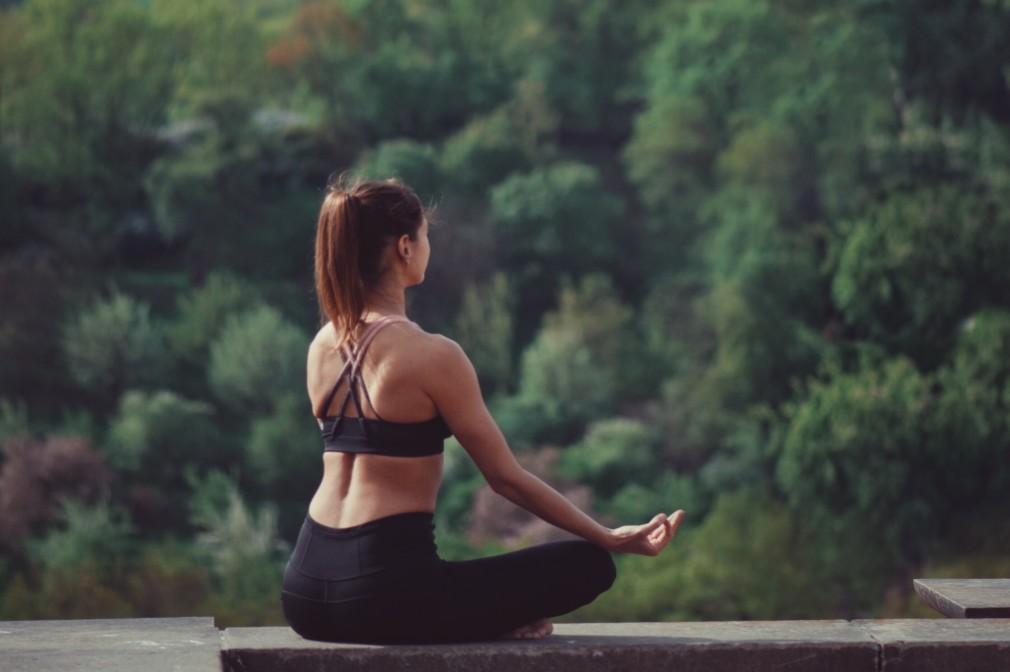
We all deal with stress and anxiety in our daily lives. Whether it comes from business or personal relationships, learning how to effectively cope with anxiety and manage stress levels is an important role in living a happy and successful life.
Yoga is also a powerful tool at helping to channel negative energy from your body so that you can reset your mind and spirit so that you’re focused on remaining calm and relaxed. In addition, these poses will help you to experience an increase in energy and focus while decreasing tension.
@lelia_milaya via Twenty20
Eagle Pose
This pose will test your balance and core strength.
Step 1: Begin by standing in the mountain pose with your feet together and your knees slightly bent.
You could also choose to start in a chair position where you are sitting deeply within the pose right from the beginning.
Step 2: Shift your weight onto your left foot and cross your right thigh over your left. If you can hook your right foot behind your left calf, go for it! If not, don’t worry. You’ll still gain all the benefits of this strengthening pose.
Step 3: Cross your left elbow over your right and bring the palms of your hands together.
Step 4: Squeeze your legs together and sit back as if sitting in a chair. Life your elbows to shoulder height and reach your hands forward away from you to really feel that stretch.
If you feel comfortable, you can bow slightly forward and bring the bottom of your elbow to the top of your knee.
Here’s another pose to help you eliminate stress and anxiety:
Child’s Pose
This is a great pose to help you relax but it’s also a fantastic resting position in between more intense transitions.
Step 1: Start on your hands and knees. Inhale deeply and begin to clear your mind of all thoughts. Listen to your breathing.
Step 2: Spread your knees apart while keeping both big toes touching. Rest your buttocks on your heels comfortably.
Step 3: Sit up straight to lengthen and stretch your spine. Now, exhale, bow forward, moving your torso in between your thighs. Let your forehead touch the floor.
Step 4: Keep your arms extended and stretched with your palms facing down as you press back slightly with your hands, maintaining contact with your buttocks and your heels. Keep your eyes closed as you breathe in, breathe out.
Step 5: Hold for a minute or longer. To release, use your hands to walk your torso back into an upright, sitting position.
Improving Flexibility
Increasing flexibility goes hand in hand with enhancing your range of motion and improving the overall health of your joints, which in turn will work towards eliminating back and shoulder pain. Improving your flexibility will also help you get more out of your workouts. In fact, flexibility is a core component to proper physical fitness because it plays a major role in your ability to increase range of motion and being able to complete a highintensity workout routine effectively.
The key is to start off slow and steady. Instead of rushing into advanced poses that you may not be ready for, you’ll want to start off with a series of simple poses that supports musclebuilding while helping you learn correct posture and safe alignment during your routine.
Here are a couple of poses to help you get started:
Eye of the Needle
This is a great pose for stretching out your hips and building your flexibility in a smooth and gentle way.
Step 1: Start by lying on your back with your knees bent and the soles of your feet flat on the floor.
Step 2: Next, place your right ankle on top of your left thigh while opening your right knee.
Step 3: Lift your left foot from the floor slowing and start to bring your left thigh towards your chest.
Step 4: Reach your right hand through the space between your legs in order to clasp your hands around the back of your left thigh. 12
Step 5: Bring your left knee towards your chest as close as you feel comfortable with.
Step 6: After 5-6 breaths, switch legs and repeat.
Another great pose for improving flexibility is one of the most popular foundational poses:
The Downward Facing Dog
Here’s the right way to complete this pose:
Step 1: Start with your hands and knees on the floor in a comfortable position with your buttocks pointed out and slightly up.
Step 2: Next, place your knees directly below your hips and your hands slightly forward (towards your shoulders). Spread the palms of your hands out on the floor and turn your toes under.
Step 3: Lift your knees up by curling your toes under as you move. Straighten your knees, draw your thighs back and lift your legs higher. Reach your heels down.
Step 4: Hold this position ensuring that your arms are straight and your thighs are pressed back, elongating your spine. Breathe in deeply and smoothly.
Step 5: Lower your knees to the floor to release the position.

Instant Energy Boost
Are you often finding it hard to stay focused and alert throughout the day? Need a quick pick-me-up without the caffeine?
Just a few minutes of yoga each day can give you that instant energy boost that gets you through the day.
Here are a few of our top energy-boosting yoga poses:
Tree Pose
This pose helps energy circulate throughout your body while opening your chest.
The tree pose also works to stretch your shoulders, torso and thighs while building strength in your calves and legs. And when it comes to boosting your energy, the tree pose will do that and more, including improving your focus and concentration.
Here’s how to do this foundational pose:
Step 1: Begin by standing with your feet together, inner ankles and knees touching.
Step 2: Bring your hands together at the center of your chest. Exhale deeply, focusing on the pose.
Step 3: Shift your weight onto your right foot, then bend your left knee and move it upwards. Keep your spine stretched, reach down and clasp your left ankle. Place the sole of your left foot on your inner right thigh.
Step 4: Stand tall, keeping your focus on the wall in front of you in a straight line.
Step 5: Press your left foot into your inner right thigh while pressing your right thigh into your foot to strength your core and improve your balance. 16
Step 6: If you feel balanced, raise your arms above your head with your palms together. Breathe and hold for 5-8 breaths.
Step 7: Release, slowing exhaling while bring your arms down. Release your legs.
Step 8: Repeat on the other side.
“Like a tree, extend your roots down and blossom your arms up towards the sun. The stronger the roots, the taller the tree.” – Baron Baptiste
Tip: If you struggle with the tree pose, consider bringing your arms out to the sides for additional stability.
You can also use a wall to practice, placing one free hand on the wall for support.
The Cobra Pose
This pose will open your chest and strengthen your core while giving you an instant energy boost.
Here’s how to do it:
Step 1: Start by lying on your stomach, chin rested on the floor and your palms flat, tucked under your shoulders. Keep your legs together.
Step 2: Pull up your knees, squeezing your thighs and pressing your pubic bone down into the floor.
Step 3: Without using your arms for support, inhale and lift your chest and head from the floor. Make sure to keep your neck in line with your spine.
Step 4: Keeping your elbows close to your sides, press down into the palms of your hands using only your arms to lift you. Drop your shoulders down and back while pressing your chest forward.
Step 5: Breathe and hole for 3-5 breaths.
Step 6: Release, exhaling and lowering your chest and head to the floor slowly and evenly.
And here’s one more to help re-energize you!
The Locust Pose
This is a core pose so you’ll want to learn it early so you can incorporate it into your daily routine.
The locust pose strengthens your legs and tones your body while helping to stretch your lower back.
Step 1: Begin by lying on your stomach, chin on the floor and your legs and arms placed alongside your body. Keep your palms facing down.
Step 2: Pull up your knees, squeezing your buttocks and thighs as you pull and press your pubic bone down to the floor like you did with the cobra pose.
Step 3: Inhale deeply, lifting your legs, chest, head and arms from the floor. Reach out, keeping your neck in line with your spine.
Step 4: Drop your shoulders down, and press your chest forward slowly. Keep your buttocks and legs strong.
Step 5: Breathe and hold for 2-5 breaths.
Step 6: Release, exhaling slowing, lowering your head, arms, legs and chest to the floor.
