

In this article we look at yoga poses for burning fat and ones that you can put into a daily routine for your health and fitness.
@ollly via Twenty20
First of all
Fat Burning Poses
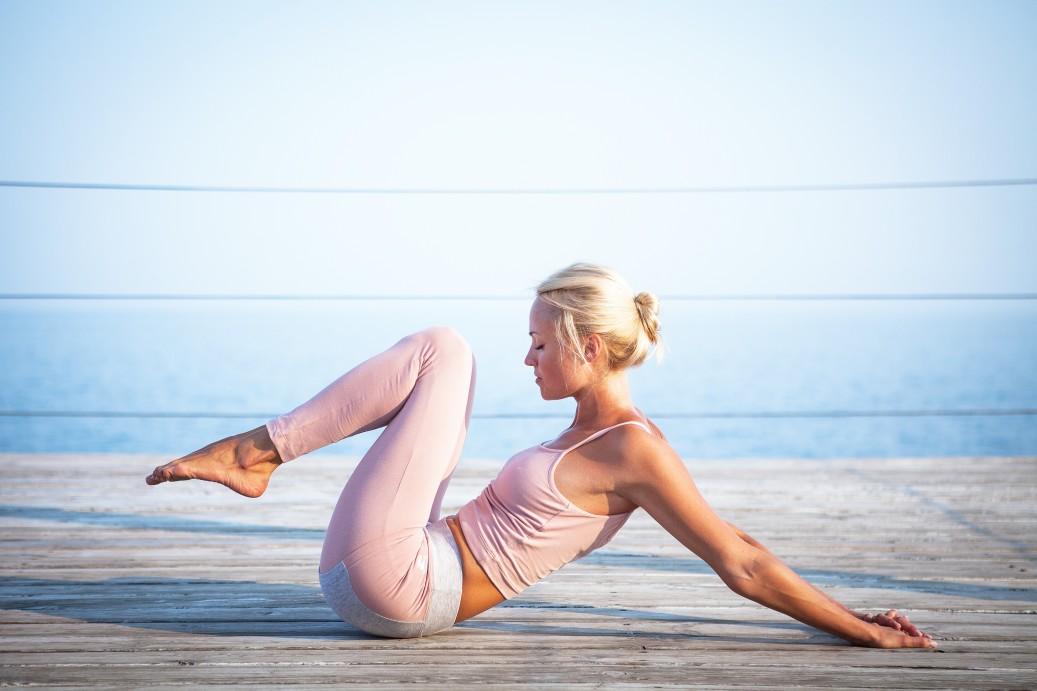
If you’re looking to shed fat, tone up your body and strengthen your core in order to reduce back pain, tighten up your abs and get fit, then you’ll want to give these powerful fat-burning yoga poses a try.
Many people are surprised to discover just how effective yoga can be at helping you lose weight but keep this in mind: muscle burns more calories than fat, right?
And with yoga, you are building muscle mass through a series of regular strength and balance based activities. By incorporating yoga into your day, your muscles will also begin to lengthen and tone, which helps you look slimmer!
And yoga helps support weight loss in yet another powerful way. It works towards relieving pressure and tension and helping you find balance and clarity in your life. An uplift in your mood and a practice that supports discipline and mindfulness will make it easier for you to stay on track with your weight loss goals!
Here are a couple of yoga poses to help you get started:
Upward-Facing Dog Pose
Note: You shouldn’t practice Upward-Facing Dog pose if you have carpal tunnel syndrome or recent back or wrist injury without first consulting with your doctor.
Step 1: Begin by lying face-down on the floor. Extend your legs behind you, spread a few inches apart. The top of your feet should rest on your mat.
Step 2: Place your hands on the floor alongside your body, next to your lower ribs. Keep your elbows tugged into the side of your body and your fingers pointed to the top of your mat.
Step 3: Inhale deeply as you press your hands firmly to the floor. Straighten your arms, slowly lifting your torso and legs just a few inches from the floor.
Step 4: Press down firmly through the tops of your feet. You’ll feel your leg muscles engage.
The objective is to keep your thighs lifted away from the floor. Keep your elbows tucked alongside your body as you drop your shoulders and lift your chest towards the ceiling. You can either keep your head neutral or gaze upwards if you’re comfortable.
Step 5: Hold the pose for up to 40 seconds. To release, exhale as you lower your torso slowly and place your forehead to your mat.
Upward Plank Pose
Step 1: Begin by sitting with your hands placed a few inches behind your hips with your fingers pointing forward.
Step 2: Bend your knees and place your feet flat on the floor, big toes turned inward and heels placed at least a foot away from your buttocks.
Step 3: Begin with a deep exhale, then press your inner feet and hands down against the floor.
Step 4: Lift your hips until you come into a reverse tabletop position, with your thighs and torso parallel to the floor.

Your Daily Routine
As you learn different poses, feel free to switch things up and add different routines into your weekly schedule.
In addition, the more flexible you become, the longer you’ll be able to hold the poses or the more challenging you can make them!
Pose #1: The Downward Facing Dog
Step 1: Start with your hands and knees on the floor in a comfortable position with your buttocks pointed out and slightly up.
Step 2: Next, place your knees directly below your hips and your hands slightly forward (towards your shoulders). Spread the palms of your hands out on the floor and turn your toes under.
Step 3: Lift your knees up by curling your toes under as you move. Straighten your knees, draw your thighs back and lift your legs higher. Reach your heels down.
Step 4: Hold this position ensuring that your arms are straight and your thighs are pressed back, elongating your spine. Breathe in deeply and smoothly.
Step 5: Lower your knees to the floor to release the position.
Pose #2 The Locust Pose
Step 1: Begin by lying on your stomach, chin on the floor and your legs and arms placed alongside your body. Keep your palms facing down.
Step 2: Pull up your knees, squeezing your buttocks and thighs as 26 you pull and press your pubic bone down to the floor like you did with the cobra pose.
Step 3: Inhale deeply, lifting your legs, chest, head and arms from the floor. Reach out, keeping your neck in line with your spine.
Step 4: Drop your shoulders down, and press your chest forward slowly. Keep your buttocks and legs strong.
Step 5: Breathe and hold for 2-5 breaths.
Step 6: Release, exhaling slowing, lowering your head, arms, legs and chest to the floor.
Pose #3: Tree Pose
Step 1: Begin by standing with your feet together, inner ankles and knees touching.
Step 2: Bring your hands together at the center of your chest. Exhale deeply, focusing on the pose.
Step 3: Shift your weight onto your right foot, then bend your left knee and move it upwards. Keep your spine stretched, reach down and clasp your left ankle. Place the sole of your left foot on your inner right thigh.
Step 4: Stand tall, keeping your focus on the wall in front of you in a straight line.
Step 5: Press your left foot into your inner right thigh while pressing your right thigh into your foot to strength your core and improve your balance.
Step 6: If you feel balanced, raise your arms above your head with your palms together. Breathe and hold for 5-8 breaths.
Step 7: Release, slowing exhaling while bring your arms down. Release your legs.
Step 8: Repeat on the other side.
Pose #4: Upward Plank Pose
Step 1: Begin by sitting with your hands placed a few inches behind your hips with your fingers pointing forward.
Step 2: Bend your knees and place your feet flat on the floor, big toes turned inward and heels placed at least a foot away from your buttocks.
Step 3: Begin with a deep exhale, then press your inner feet and hands down against the floor.
Step 4: Lift your hips until you come into a reverse tabletop position, with your thighs and torso parallel to the floor.
